Using Rayhunter
Once installed, Rayhunter will run automatically whenever your device is running. You'll see a green line on top of the device's display to indicate that it's running and recording. The line will turn yellow dots, orange dashes, or solid red once a potential IMSI catcher has been found, depending on the severity of the alert, until the device is rebooted or a new recording is started through the web UI.
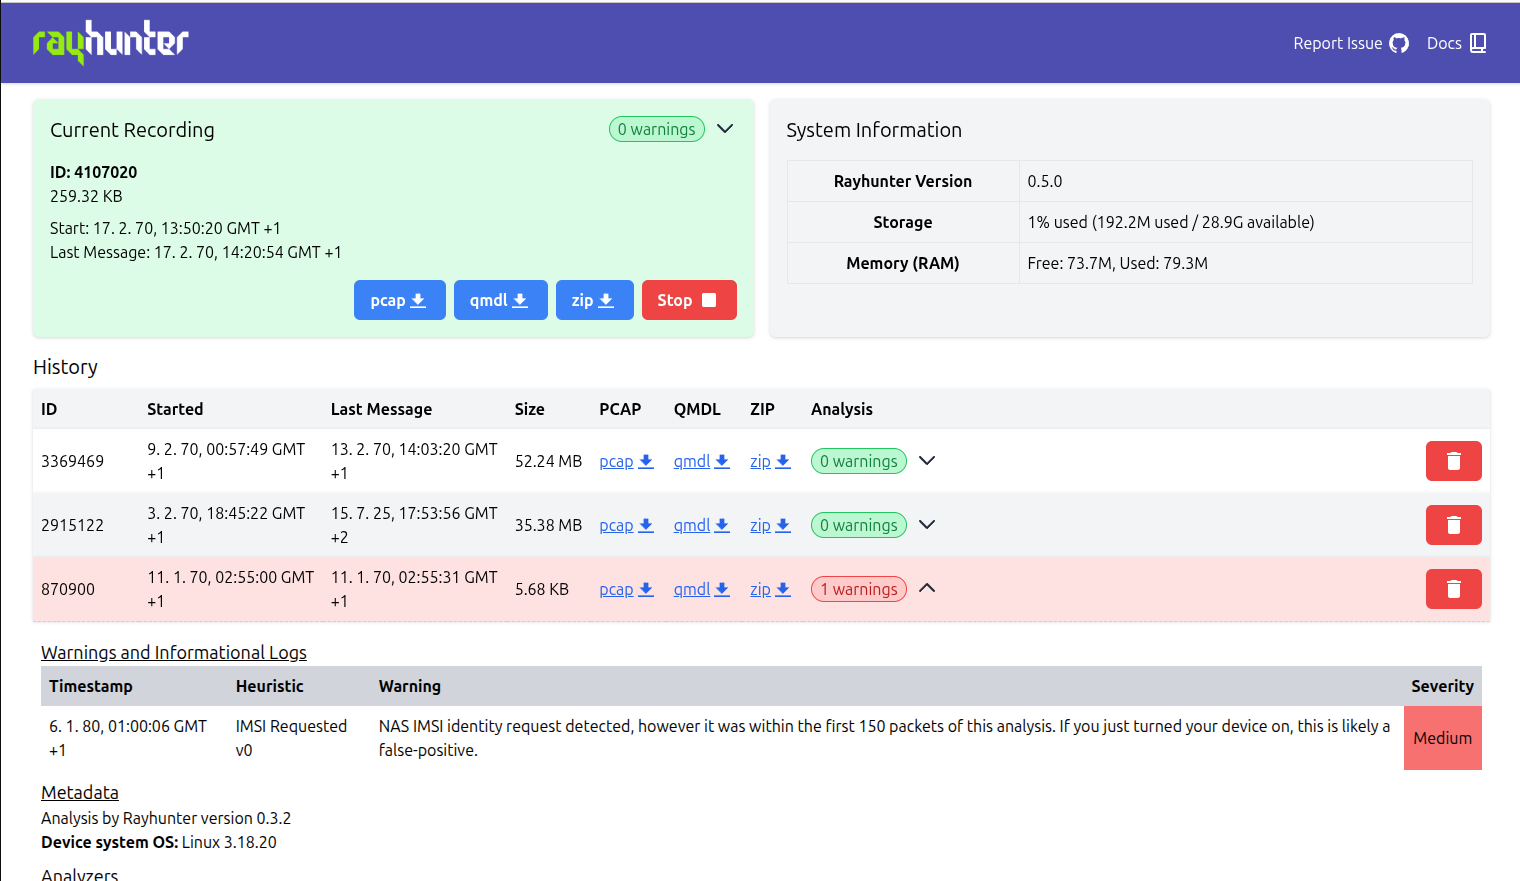
It also serves a web UI that provides some basic controls, such as being able to start/stop recordings, download captures, delete captures, and view heuristic analyses of captures.
The web UI
You can access this UI in one of two ways:
-
Connect over WiFi: Connect your phone/laptop to your device's WiFi network and visit http://192.168.1.1:8080 (orbic) or http://192.168.0.1:8080 (tplink).
Click past your browser warning you about the connection not being secure; Rayhunter doesn't have HTTPS yet.
On the Orbic, you can find the WiFi network password by going to the Orbic's menu > 2.4 GHz WIFI Info > Enter > find the 8-character password next to the lock 🔒 icon. On the TP-Link, you can find the WiFi network password by going to the TP-Link's menu > Advanced > Wireless > Basic Settings.
If WiFi client mode is enabled, you can also reach the web UI from any device on that network at
http://<device-ip>:8080. -
Connect over USB (Orbic): Connect your device to your laptop via USB. Run
adb forward tcp:8080 tcp:8080, then visit http://localhost:8080.- For this you will need to install the Android Debug Bridge (ADB) on your computer, you can copy the version that was downloaded inside the
releases/platform-tools/folder to somewhere else in your path or you can install it manually. - You can find instructions for doing so on your platform here, (don't worry about instructions for installing it on a phone/device yet).
- On MacOS, the easiest way to install ADB is with Homebrew: First install Homebrew, then run
brew install android-platform-tools.
- For this you will need to install the Android Debug Bridge (ADB) on your computer, you can copy the version that was downloaded inside the
-
Connect over USB (TP-Link): Plug in the TP-Link and use USB tethering to establish a network connection. ADB support can be enabled on the device, but the installer won't do it for you.
NOTE: When downloading recordings, "Insecure download blocked" warnings can safely be ignored - this is due to Rayhunter not using HTTPS.
Key shortcuts
As of Rayhunter version 0.3.3, you can start a new recording by double-tapping the power button. Any current recording will be stopped and a new recording will be started, resetting the red line as well. This feature is disabled by default since Rayhunter version 0.4.0 and needs to be enabled through configuration.